A very easy to use lighting kit for Warhammer 40k tanks such as Rhino, Predator, Land Raider etc.
Kit includes 3mm LEDs, fibre optic strands and a 3 volt battery holder with on/off switch.
Installation is best done before gluing the model together so wiring can be hidden in the shell of the tank. Holes are best drilled before painting.
Fibre optics are shown next to the headlights and in the computer control console with LED headlights and two interior lights.
Fibre optic strands will be left long for trimming to correct length after installation. If you would just like headlights for your tank click on the link: Tank headlights
***Tank is for illustration purposes only and is NOT included***
Kit includes:
- 4 x 3mm LEDs in choice of colour (2 x headlights & 2 x interior lights)
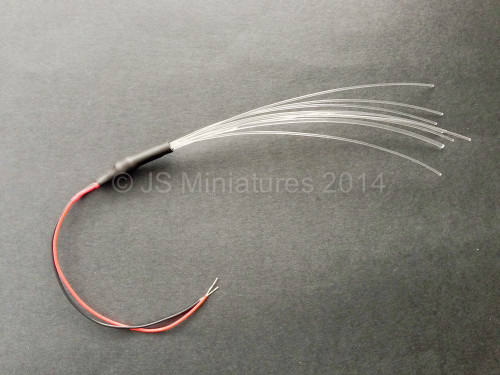
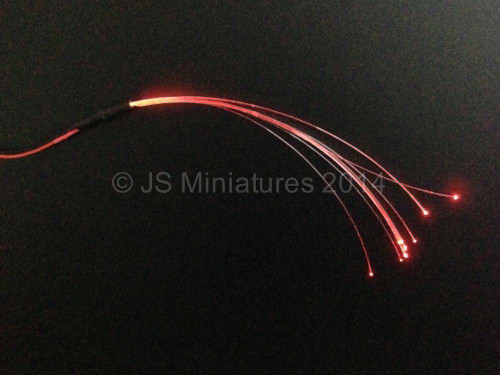
- 9 x fibre optics strands lit by a 5mm LED (8 x 0.75mm dia & 1 x 1.5mm dia strands)
- 1 x 3v coin cell battery holder with mini on/off switch
- 1 x connector block
- PDF Instructions with step by step photos
- Optional: Add LED clips for headlights (see photo below for example)
***Please Note: I'm very sorry but due to Royal Mail Regulations coin cell batteries can not be sent through the post so a battery can not be included with your order. ****
Full step by step instructions will be included but these are fairly simple to install. Installation is best done before gluing the model together so wiring can be hidden in the shell of the tank. Holes are best drilled before painting. Choose where you want the LEDs and fibre optic strands to go and drill a hole of the appropriate size, glue in place with hot melt glue and connect the LED wires to the battery wires using the connector block. The wiring can be hidden in the front of the model as shown and a hole drilled in the base for the mini on/off switch to pop through then glued in place. The coin cell battery is small enough to be easily hidden inside the model. LED clips can be used to neaten the headlights and/or interior lights and allows the LED to simply clip into place.


